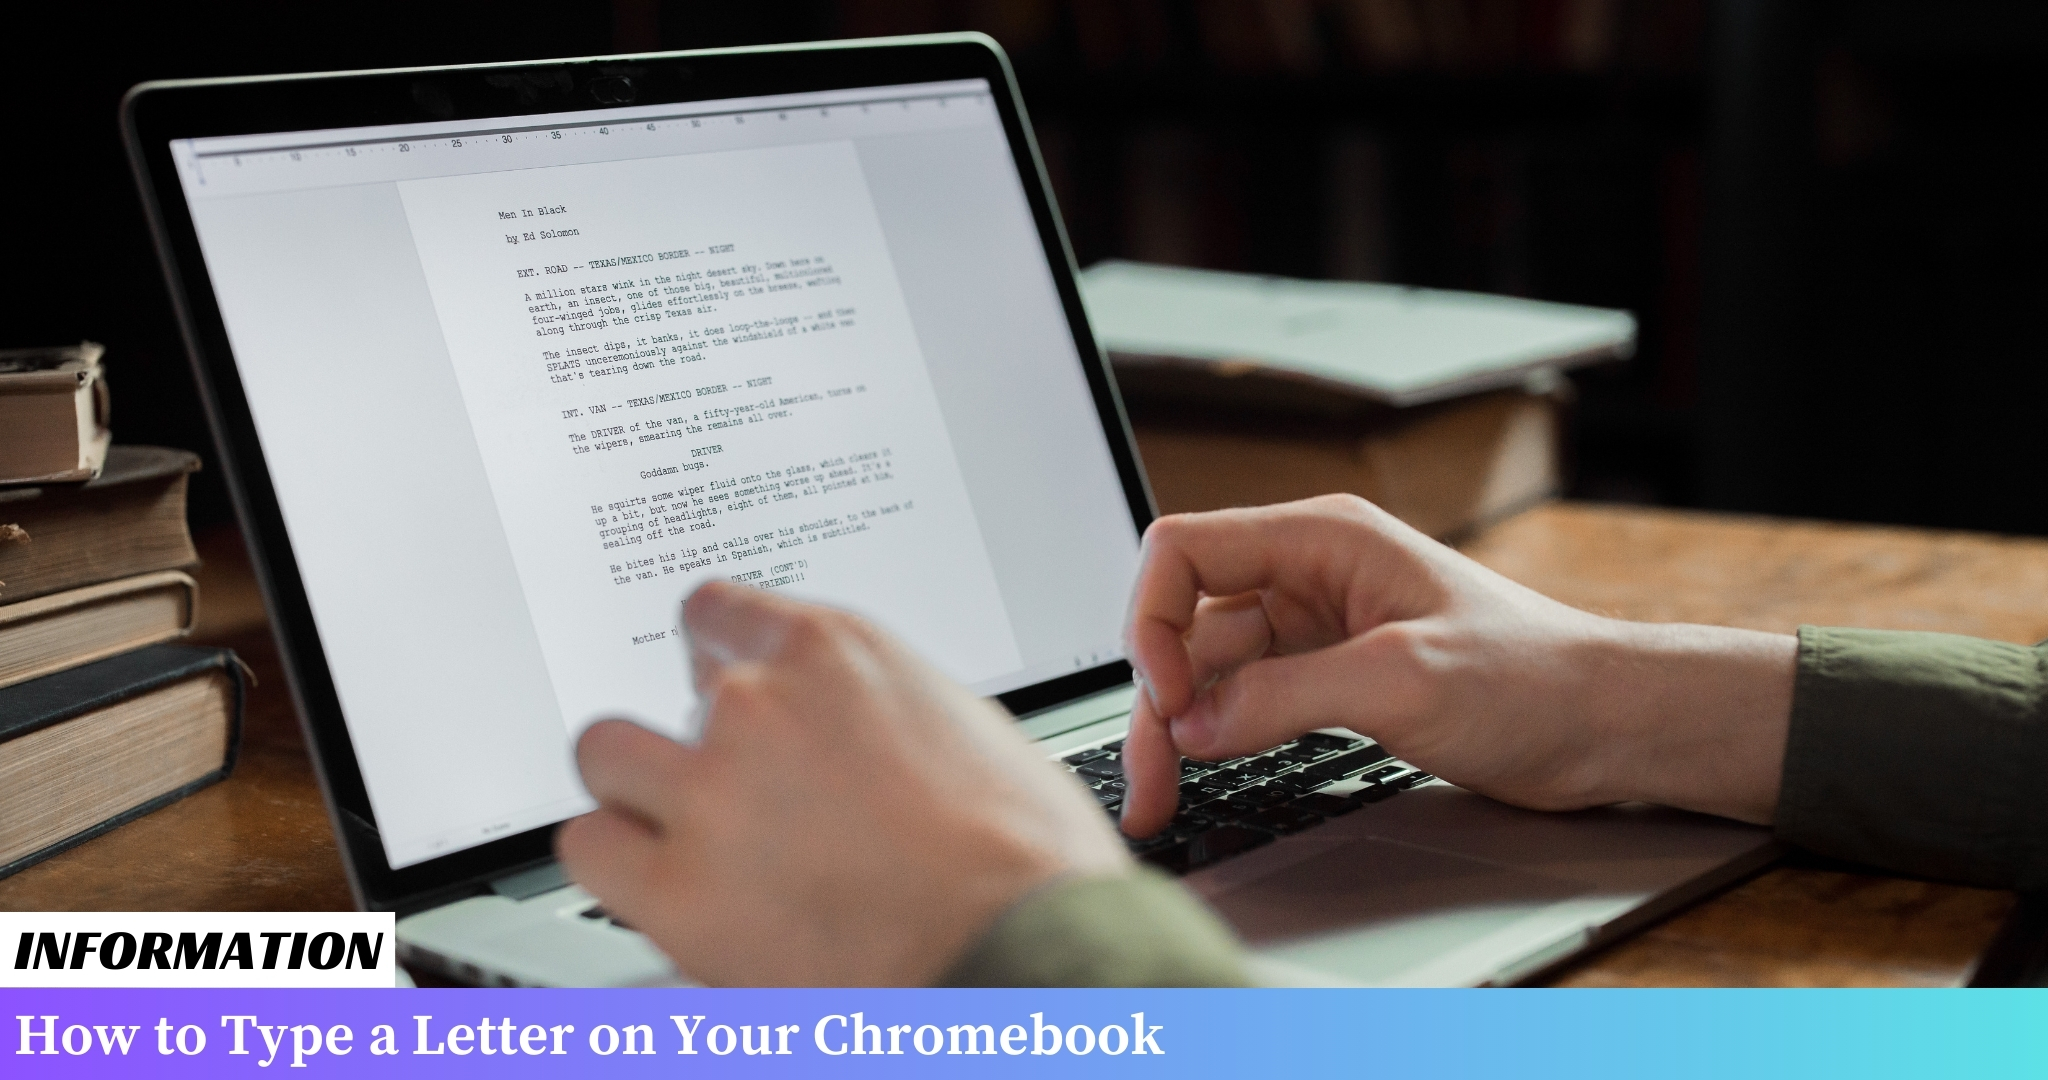
To type a letter on your Chromebook, follow these simple steps:
Using a Chromebook to write a letter is a straightforward process that requires no additional software.
With the built-in Google Docs application, you can easily create and format professional-looking letters directly on your device. This guide will walk you through the steps to type a letter on your Chromebook.
Table of Contents
I. Setting up your Chromebook for letter typing
Chromebooks are a popular choice for many people when it comes to typing letters. They are lightweight, portable, and easy to use. If you have recently purchased a Chromebook and want to start typing letters, here are some steps to help you get started:
Step 1: Sign in to your Chromebook
Before you can start typing letters, you need to sign in to your Chromebook using your Google account. If you don’t have a Google account, you can create one for free. Once you have signed in, you will have access to Google Docs, which is a great tool for letter typing.
Step 2: Open Google Docs
To start typing your letter, open Google Docs by clicking on the Apps Launcher in the bottom left corner of your screen.
Then, click on the Google Docs icon. This will open a new tab in your Chrome browser with a blank document.
Step 3: Start typing your letter
Once you have opened Google Docs, you can start typing your letter. Simply click on the blank document and begin typing.
Google Docs has a user-friendly interface that is similar to other word processing software, so you should feel right at home.
Tip: Use keyboard shortcuts
If you want to speed up your letter typing, you can use keyboard shortcuts in Google Docs. For example, to make text bold, you can press Ctrl + B.
To underline text, you can press Ctrl + U. These shortcuts can save you time and make the letter typing process more efficient.
Step 4: Save your letter
Once you have finished typing your letter, it’s important to save your work. Google Docs automatically saves your document as you type, so you don’t have to worry about losing your work.
However, it’s always a good idea to save your document manually as well. To do this, click on the “File” tab in the top left corner of the screen and select “Save.”
If you need to share your letter with someone else, Google Docs makes it easy to do so. To share your letter, click on the “Share” button in the top right corner of the screen.
You can then enter the email address of the person you want to share the letter with and choose whether they can view, comment, or edit the document.
Step 6: Print your letter
If you need a physical copy of your letter, you can easily print it from your Chromebook. Click on the “File” tab in the top left corner of the screen and select “Print.”
You can then choose your printer and adjust any printing settings before clicking “Print” to print your letter.
Step 7: Close Google Docs
Once you have finished typing, saving, and sharing your letter, you can close Google Docs. Simply click on the “X” button in the top right corner of the tab to close the document. Your letter will be saved and can be accessed again later if needed.
II. Using Google Docs for letter typing
Google Docs is a powerful tool for creating and editing documents, including letters.
Here’s how to use it on your Chromebook:
- Open Google Docs by clicking on the app launcher and selecting the Docs icon.
- Click on “Blank” to create a new document.
- Start typing your letter in the document. You can use the built-in keyboard on your Chromebook or connect an external keyboard if you prefer.
- Use the toolbar at the top of the screen to format your letter. You can change the font, font size, and text color, as well as add bold or italic formatting.
- To add a header or footer to your letter, go to the “Insert” menu and select “Header” or “Footer.” You can then enter text or insert page numbers.
- If you want to add images or other media to your letter, go to the “Insert” menu and select the appropriate option. You can upload images from your Chromebook or search the web for images.
- Google Docs also has a variety of templates you can use for your letter. To access these templates, go to the “File” menu, select “New,” and choose “From template.” You can then search for letter templates and select the one you want to use.
- As you type, Google Docs will automatically save your work. However, it’s always a good idea to save manually as well. To do this, click on the “File” menu and select “Save” or use the keyboard shortcut Ctrl + S.
- When you’re finished typing your letter, you can download it as a Word document, PDF, or other file format. Go to the “File” menu, select “Download,” and choose the desired format.
Using Google Docs on your Chromebook makes letter typing easy and convenient. With its extensive formatting options and collaboration features, you can create professional-looking letters in no time.
III. Formatting options for your letter
When it comes to formatting your letter on a Chromebook, Google Docs offers a variety of options to make your letter visually appealing and professional.
Here are some formatting options you can utilize:
1. Font styles and sizes
Google Docs provides a wide range of font styles and sizes to choose from. You can select a font that suits the tone of your letter, whether it’s a formal business letter or a casual personal letter. Additionally, you can adjust the font size to ensure readability.
2. Text alignment
Aligning your text properly is crucial for a well-organized letter. Google Docs allows you to align your text to the left, right, center, or justify it. Consider the overall layout and structure of your letter to determine the appropriate alignment.
3. Bulleted and numbered lists
If you want to present information in a concise and organized manner, you can use bulleted or numbered lists.
This helps to break down complex points and makes your letter easier to read. To create a bulleted list, use the unordered list (UL) tag, and for numbered lists, use the ordered list (OL) tag.
4. Headings and subheadings
Headings and subheadings are useful for structuring your letter and highlighting important sections. You can use different heading levels to create a hierarchy and improve readability. Use the heading tags (H1, H2, H3, etc.) to format your headings accordingly.
5. Tables
If you need to present data or organize information in a tabular format, Google Docs allows you to insert tables into your letter.
Tables are particularly useful for comparing data or displaying information in a clear and organized manner. Use the table tags to create tables with rows and columns.
By utilizing these formatting options, you can ensure that your letter is visually appealing, well-structured, and easy to read. Experiment with different styles and layouts to find the best format for your specific letter.
IV. Saving and sharing your letter on a Chromebook
Once you have finished typing your letter on your Chromebook using Google Docs, it is important to save and share it appropriately.
Follow these steps:
- Saving your letter: To save your letter, click on the “File” tab in the top left corner of the Google Docs interface. Then, select “Save” from the drop-down menu. Alternatively, you can use the keyboard shortcut Ctrl + S. Choose a location on your Chromebook or Google Drive to save your letter, and give it a descriptive name. Click “Save” to complete the process.
- Sharing your letter: If you need to share your letter with others, Google Docs makes it easy. Click on the “Share” button in the top right corner of the Google Docs interface. A dialog box will appear where you can enter the email addresses of the people you want to share the letter with. You can also choose whether they can view, comment, or edit the document. Click “Send” to share the letter.
- Collaborating on your letter: If you are working on the letter with others, you can collaborate in real-time using Google Docs. Simply click on the “Share” button and enter the email addresses of your collaborators. They will be able to access and edit the letter simultaneously, allowing for seamless collaboration.
By saving and sharing your letter on your Chromebook using Google Docs, you can easily access it from any device with an internet connection. This ensures that your letter is always accessible and up-to-date, no matter where you are.
FAQs: How to Type a Letter on My Chromebook
1. How do I open a word processing program on my Chromebook?
To open a word processing program on your Chromebook, simply click on the “Launcher” button located at the bottom left corner of the screen. Then, type “Docs” or “Google Docs” in the search bar and click on the app to open it.
2. Can I type a letter offline on my Chromebook?
Yes, you can type a letter offline on your Chromebook using Google Docs. However, you need to ensure that you have enabled the offline access feature in Google Drive settings before going offline.
3. How do I start typing a letter in Google Docs?
To start typing a letter in Google Docs, open the app and click on the “Blank” document option. A new document will open, and you can begin typing your letter in the blank space provided.
4. How can I format the text in my letter?
You can format the text in your letter by using the formatting options available in Google Docs. These options include changing the font style, size, color, alignment, and applying bold, italic, or underline formatting.
5. Can I add images or graphics to my letter in Google Docs?
Yes, you can add images or graphics to your letter in Google Docs. Click on the “Insert” menu at the top, select “Image,” and choose the desired image from your computer or Google Drive to insert it into your letter.
6. How do I save my letter on a Chromebook?
Your letter in Google Docs is automatically saved as you type. However, if you want to manually save it, click on the “File” menu at the top, select “Save” or “Save as,” and choose the location in your Google Drive where you want to save the letter.
7. Can I print my letter directly from my Chromebook?
Yes, you can print your letter directly from Google Docs on your Chromebook. Click on the “File” menu at the top, select “Print,” adjust the print settings if necessary, and click on the “Print” button to print your letter.
8. How can I share my letter with others?
To share your letter with others, click on the “Share” button located at the top right corner of the Google Docs window. Enter the email addresses or names of the people you want to share the letter with, choose their access level, and click on the “Send” button.
9. Can I download my letter as a file on my Chromebook?
Yes, you can download your letter as a file on your Chromebook. Click on the “File” menu at the top, select “Download,” and choose the desired file format (e.g., Microsoft Word, PDF) to download your letter in that format.
10. Is it possible to access my letter from other devices?
Yes, you can access your letter from other devices by signing in to your Google account and opening Google Docs. Your letter will be synced across devices, allowing you to continue working on it from anywhere.
Conclusion: How to Type a Letter on Your Chromebook
Typing a letter on your Chromebook is a straightforward process. By accessing Google Docs, you can create a new document and start typing your letter. Utilize the various formatting options available to customize your letter’s appearance.
Once you’re done, save the document and consider downloading it in a compatible format if necessary. With the user-friendly interface and convenient features, typing a letter on your Chromebook becomes an effortless task.