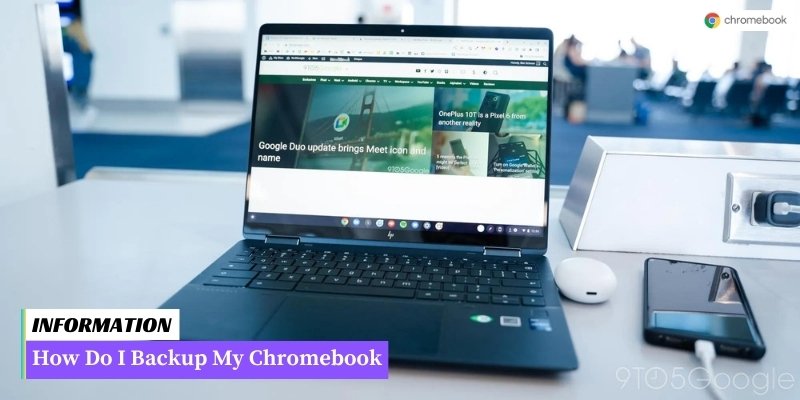
If you want to ensure that your data on a Chromebook is safe and easily recoverable, you can back it up by following these steps:
- Enable Google Drive Sync: Go to the settings menu, select “Advanced,” then enable the “Sync everything” option.
- Use Google Takeout: Visit the Google Takeout website, select the data you want to backup, and click on “Next” to create a backup file.
- External Storage: You can also manually backup your files to an external storage device like a USB drive or an external hard drive.
By following these methods, you can easily backup your Chromebook and keep your important data secure.
Table of Contents
- I. Why is it important to backup your Chromebook?
- II. How to backup your Chromebook using Google Drive
- III. How to backup your Chromebook using an external storage device
- Step 1: Connect your external storage device
- Step 2: Open the Files app
- Step 3: Select the files and folders you want to backup
- Step 4: Copy the selected files and folders
- Step 5: Paste the copied files and folders to your external storage device
- Step 6: Verify the backup
- Step 7: Safely eject your external storage device
- IV. How to restore your Chromebook from a backup
I. Why is it important to backup your Chromebook?
Backing up your Chromebook is crucial to protect your important files and data from loss or accidental deletion. It provides an extra layer of security and ensures that you can easily restore your Chromebook to its previous state in case of any technical issues or hardware failures.
By regularly backing up your Chromebook, you can safeguard your documents, photos, settings, and other valuable information.
II. How to backup your Chromebook using Google Drive
Backing up your Chromebook is essential to ensure that you don’t lose any important files or data. One of the easiest and most convenient ways to backup your Chromebook is by using Google Drive, a cloud storage service provided by Google.
Follow these simple steps to backup your Chromebook using Google Drive:
- Open your Chromebook and sign in to your Google account.
- Click on the “Launcher” button located in the bottom left corner of your screen.
- Search for and click on the “Files” app.
- In the Files app, click on the “Menu” button (three vertical dots) located in the top right corner of the screen.
- From the drop-down menu, select “Settings”.
- In the Settings menu, click on “Google Drive”.
- Toggle the switch next to “Automatically save files to Google Drive” to enable automatic backups.
- Choose the folders or files you want to backup by clicking on the “Manage” button.
- Click on the “Done” button to save your settings.
By following these steps, your Chromebook will automatically backup your selected files and folders to Google Drive. This ensures that your important data is securely stored in the cloud and can be easily accessed from any device with an internet connection.
III. How to backup your Chromebook using an external storage device
Backing up your Chromebook using an external storage device is another reliable way to ensure the safety of your data.
Here’s a step-by-step guide on how to do it:
Step 1: Connect your external storage device
Start by connecting your external storage device, such as a USB flash drive or an external hard drive, to your Chromebook. Make sure it is properly recognized and mounted before proceeding to the next step.
Step 2: Open the Files app
Click on the “Launcher” button in the bottom-left corner of your screen and search for the “Files” app. Open it to access your files and folders.
Step 3: Select the files and folders you want to backup
Navigate through your files and folders in the “Files” app and select the ones you want to backup. You can hold down the “Ctrl” key and click on multiple files or folders to select them.
Step 4: Copy the selected files and folders
Once you have selected the files and folders you want to backup, right-click on them and choose the “Copy” option from the context menu. Alternatively, you can use the keyboard shortcut “Ctrl + C” to copy the selected items.
Step 5: Paste the copied files and folders to your external storage device
Now, go to your external storage device in the “Files” app and right-click on an empty space. Select the “Paste” option from the context menu or use the keyboard shortcut “Ctrl + V” to paste the copied files and folders onto your external storage device.
Step 6: Verify the backup
After the copying process is complete, take a moment to verify that the files and folders have been successfully backed up to your external storage device. You can open them directly from the device or compare their sizes and properties with the original files on your Chromebook.
Step 7: Safely eject your external storage device
Once you have confirmed the successful backup, it is important to safely eject your external storage device from your Chromebook. Right-click on the device in the “Files” app and select the “Eject” option to ensure that no data is lost or corrupted during the removal process.
By following these steps, you can easily backup your Chromebook using an external storage device and have peace of mind knowing that your important files and folders are securely stored.
IV. How to restore your Chromebook from a backup
Restoring your Chromebook from a backup is a simple process that can help you recover your data and settings in case of any unfortunate incidents.
Here’s how you can do it:
- First, sign in to your Chromebook using your Google account.
- Click on the time in the bottom right corner of the screen to open the system tray.
- Click on the “Settings” gear icon to open the Chromebook settings.
- In the settings menu, scroll down and click on “Advanced” to expand the advanced settings.
- Under the “Reset settings” section, click on “Powerwash” to reset your Chromebook.
- A dialog box will appear, asking you to confirm the powerwash. Click on “Restart” to proceed.
- Your Chromebook will restart and the powerwash process will begin. This will erase all the data and settings on your Chromebook.
- After the powerwash is complete, follow the initial setup process to sign in to your Google account.
- During the setup process, you will be asked if you want to restore your data and settings from a backup. Click on “Restore” to proceed.
- Choose the backup file you want to restore from. If you backed up your Chromebook using Google Drive, select the backup file from your Google Drive account. If you backed up using an external storage device, connect the device to your Chromebook and select the backup file from there.
- Click on “Restore” to start the restoration process. Your Chromebook will then restore your data and settings from the backup file.
- Once the restoration is complete, you can start using your Chromebook with all your data and settings restored.
By following these simple steps, you can easily restore your Chromebook from a backup and ensure that your important data and settings are safe. Remember to regularly backup your Chromebook to avoid any potential data loss.
FAQ How Do I Backup My Chromebook
1. How can I backup my files on a Chromebook?
To backup your files on a Chromebook, you can use Google Drive, an external storage device, or an online cloud storage service.
2. Does Google Drive automatically backup my files on a Chromebook?
No, Google Drive does not automatically backup your files on a Chromebook. You need to manually upload your files to Google Drive or enable the Backup and Sync feature.
3. Can I use an external hard drive to backup my Chromebook?
Yes, you can use an external hard drive to backup your Chromebook. Connect the external hard drive to your Chromebook and copy the files you want to backup.
4. How much storage space do I get with Google Drive for Chromebook backup?
By default, Google provides 15 GB of free storage space with every Google account. However, you can purchase additional storage if needed.
5. Can I backup my entire Chromebook settings and apps?
No, Chromebooks do not have a built-in feature to backup the entire system, including settings and apps. However, your settings and apps are automatically synced with your Google account, so you can easily restore them on a new Chromebook.
6. How do I enable automatic backups on my Chromebook?
Chromebooks do not have an automatic backup feature. You need to manually backup your files or use a cloud storage service that offers automatic syncing.
7. Can I backup my Chromebook offline?
Yes, you can backup your Chromebook offline by using an external storage device such as a USB drive or an SD card. Simply copy the files you want to backup to the external storage device.
8. Are there any Chromebook backup apps available?
Yes, there are several backup apps available in the Chrome Web Store that can help you backup specific files or folders on your Chromebook.
9. Can I backup my Chromebook to a different Google account?
Yes, you can backup your Chromebook to a different Google account by signing out of your current account and signing in with a different account. Then, you can upload your files to the new account’s Google Drive.
10. How often should I backup my Chromebook?
It is recommended to backup your Chromebook regularly, especially if you have important files or documents. You can set a schedule for backups or manually backup whenever you make significant changes to your files.
Conclusion: How Do I Backup My Chromebook
Backing up your Chromebook is a crucial step to ensure the safety of your data. By following the steps mentioned above, you can easily backup your files and settings to Google Drive or an external storage device.
Remember to regularly perform backups to keep your data secure and accessible, even in the event of a system failure or accidental data loss.